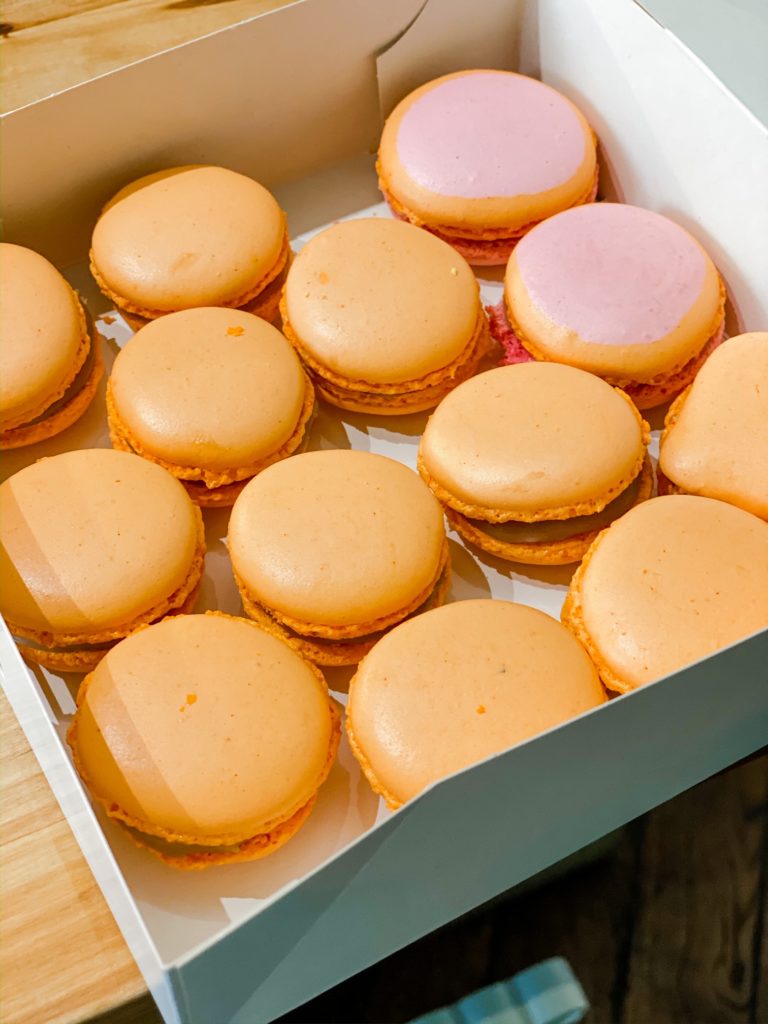
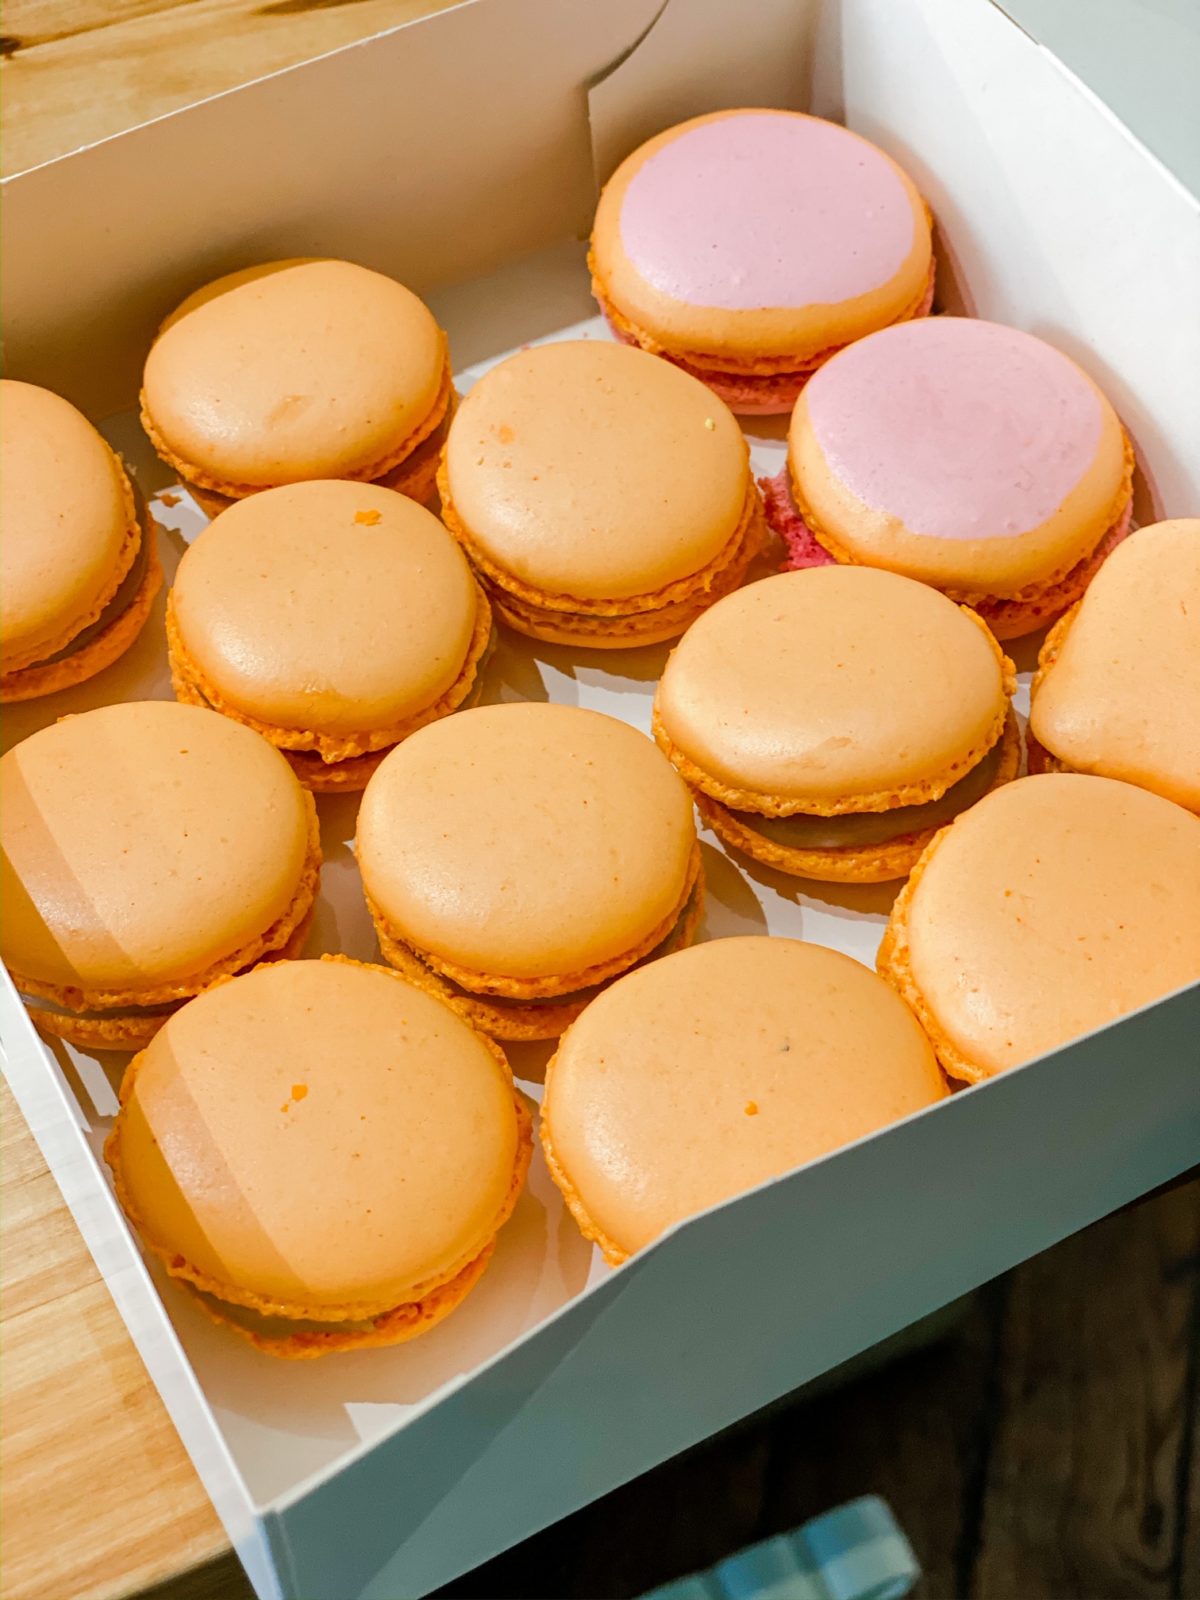
I recently just traveled to Paris, France on tour with Nathan and unfortunately our show got cancelled due to the Coronavirus so I was in need of some sort of activity to do to pass the time. I came across a macaroon making class on Airbnb and knew it was a MUST DO! I have always wanted to learn how to make my own PLUS they are almost always gluten free so it was a match made in heaven!
Unfortunately they didn’t have a dairy free filling for me to use so I left a few of my cookies unfilled and just used jam instead. I will still provide their filling recipe below for those who aren’t dairy free but it tastes just as delicious with jam for those of you who are concerned about the taste! Follow along below to find out what I learned from a professional on how to make the perfect macaroon!
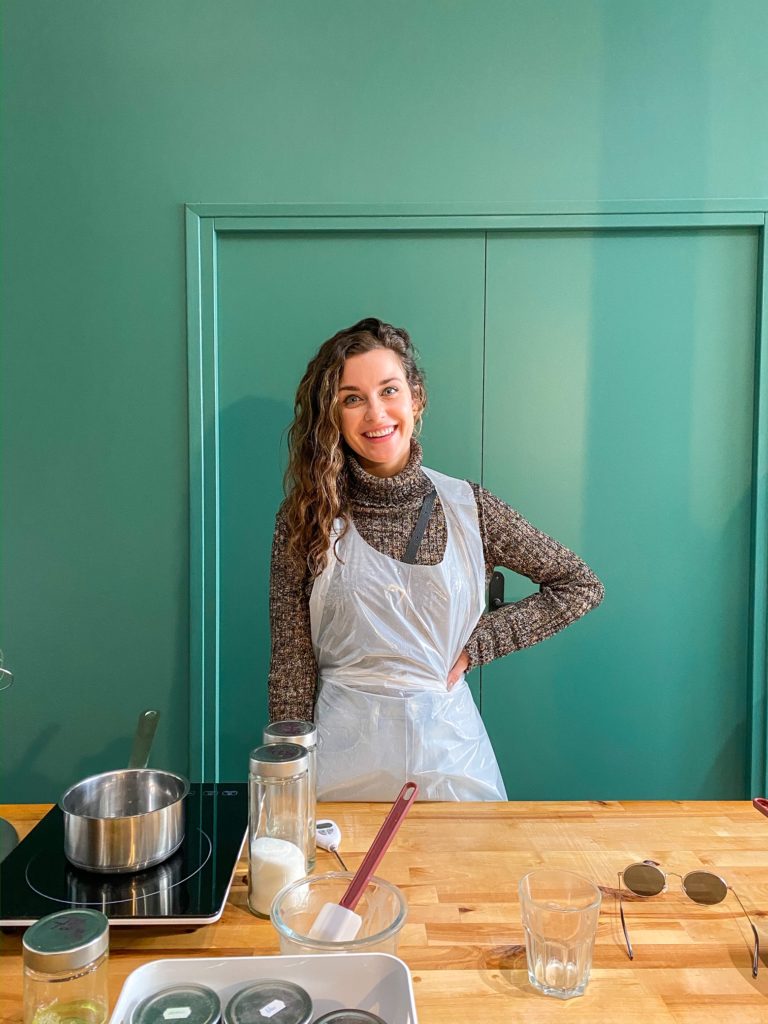


TOOLS NEEDED:
COOKIE INGREDIENTS:
- 125g almond flour
- 125g sugar
- 125g powdered sugar
- 40g water
- 45g x 2 egg whites (1/2 for meringue, 1/2 for dry mix)
- powdered food coloring (HERE is a set of colors but they are NOT natural / here are some natural powdered food colorings: purple, pink, blue, green, orange, yellow )
GANACHE FILLING INGREDIENTS (not dairy free):
- 67g liquid cream
- 200g white chocolate
- any flavor of choice (we used strawberry)
- 45g butter
DAIRY FREE FILLING OPTION:
- Jam
GANACHE INSTRUCTIONS:
- Heat your cream in a saucepan.
- Melt your chocolate chips in the microwave on a low setting to soften, when the cream boils pour it over the chocolate and let it sit.
- After 1 minute stir the mixture with a spatula until your mixture is nice and smooth.
- Add any flavor you’d like to the filling (we used strawberry) and mix well. Pour into a large flat container to cool the filling, cover with plastic wrap and store in the fridge. Leave the ganache in the fridge until it’s at a piping / icing consistency.
COOKIE / COQUILLES INSTRUCTIONS:
- Start with making sure your egg whites are room temperature (have sitting out of fridge for at least 30 min)
- In a separate large mixing bowl mix together powdered sugar and almond flour. Add a small amount (like the tip of a knife small) of powdered food coloring if you would like the cookies to be colored.
- Add 45g of egg whites and mix until the ingredients are fully incorporated (no lumps!).
- Pour the other 45g of egg whites into the bowl of an electric mixer, set aside.
- in a small sauce pan combine your water and sugar over medium high heat. Hold the thermometer in the center of the sugar water, making sure not to touch the bottom of the pan.
- When the temperature of the sugar water reaches 221 degrees F turn the mixing bowl on high, at 244 degrees F remove the pot from the stove, turn the mixer down to low and slowly pour the syrup around the sides of the bowl.
- Turn the mixer back on high for a few minutes until the mixing bowl is cooler to touch.
- Make sure to check your meringue, it should be shiny, stiff, and the mix should create a peak when you remove the whisk. When you turn the bowl upside down the mix should not fall out.
- Using a spatula, gently fold the meringue into the first mixture you prepared, start but just adding spoonful of meringue to the first mix to soften it before folding in the other half. Keep folding until you obtain the right consistency: when you lift the spatula your dough should “ribbon” back into the mix, thick and continuous; DO NOT OVER MIX!
- Grab your piping bag with an 8mm round tip, fill it with the dough mix.
- Preheat oven to 320 degrees F. Place parchment paper on a baking sheet. If you have never made macaroons it would be a good idea to print a template to put underneath your parchment paper to help you with the size of your macaroons (make sure to remove the paper guide before you bake!)
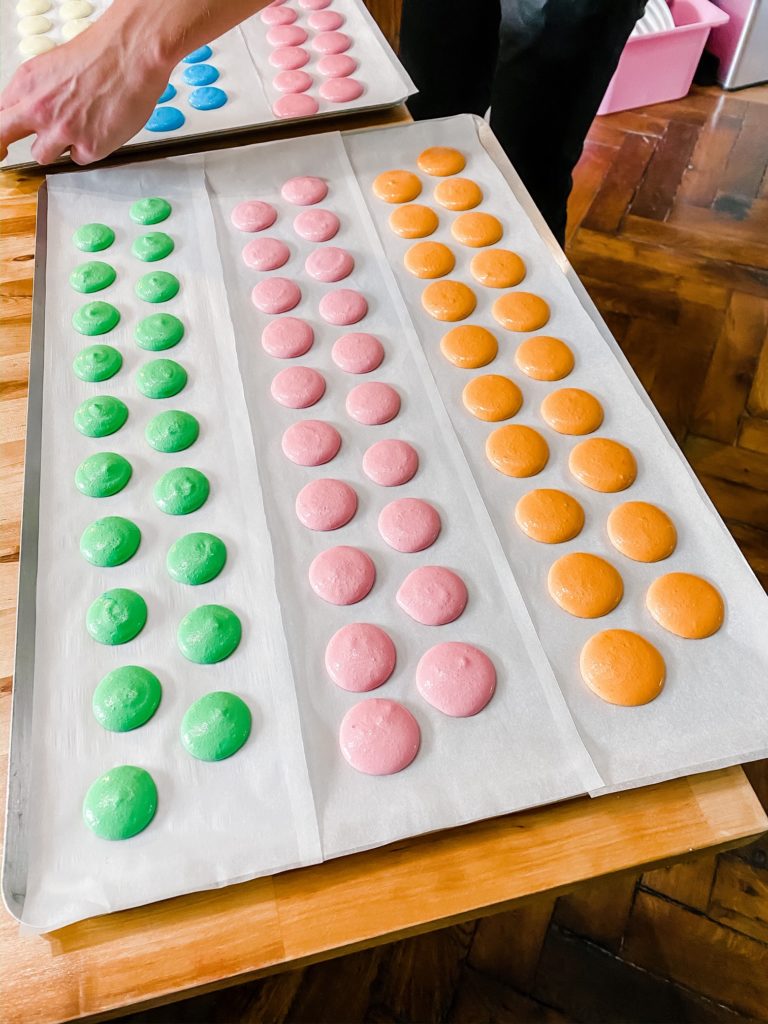
- Pipe your macaroons onto your baking sheet, the nozzle should remain close to the tray and you should keep the bag straight up and down, use a quick circular motion to lift the piping bag when your done with each cookie.
- When you have finished the piping drop the baking tray from a very small height onto a flat surface 2-3 times to get rid of any air bubbles.
- Put your tray into the oven for 12 min but make sure to check your macaroons often because each oven is different! When they are ready the top of the macaroon should hardly move compared to the base when touched.
- Let the shells cool down for a few minutes on a cooling rack, they should not stick to the paper and should be able to be removed easily. When they feel cool to touch you can pair them up based on their size.
PEPARATION:
- Take the ganache out of the fridge, stir the mix and make it smooth again. Put the ganache into a new piping bag.
- Pipe a small amount of ganache onto the center of each cookie shell.
- Twist the other shell on top to close the macaroon.
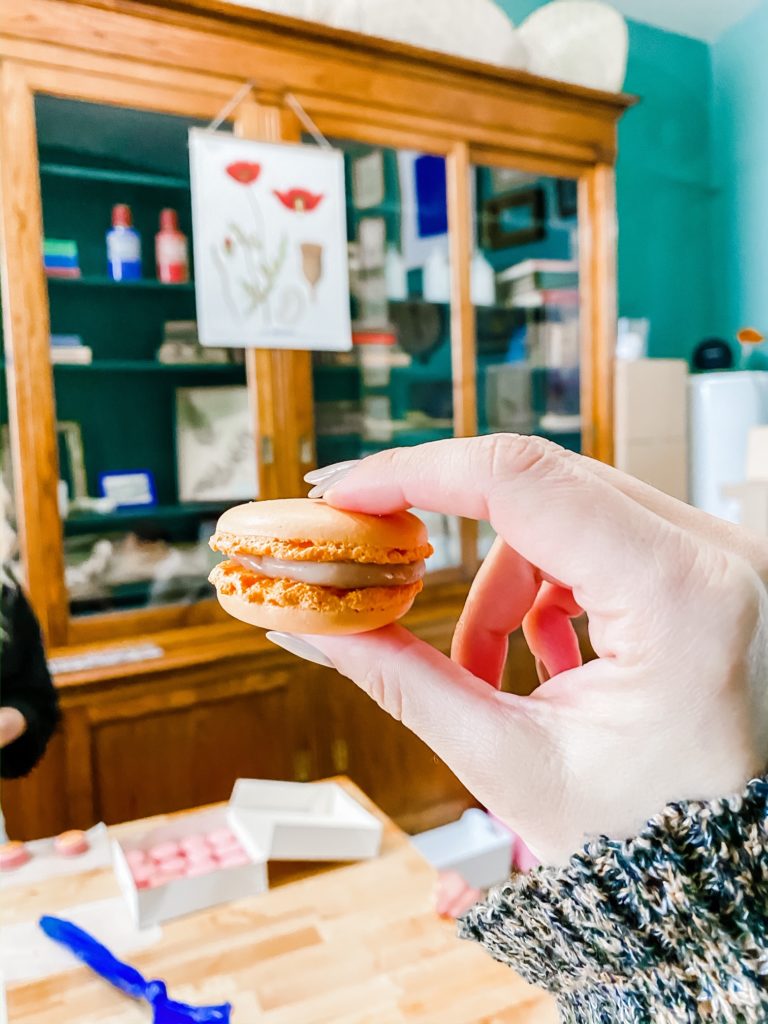
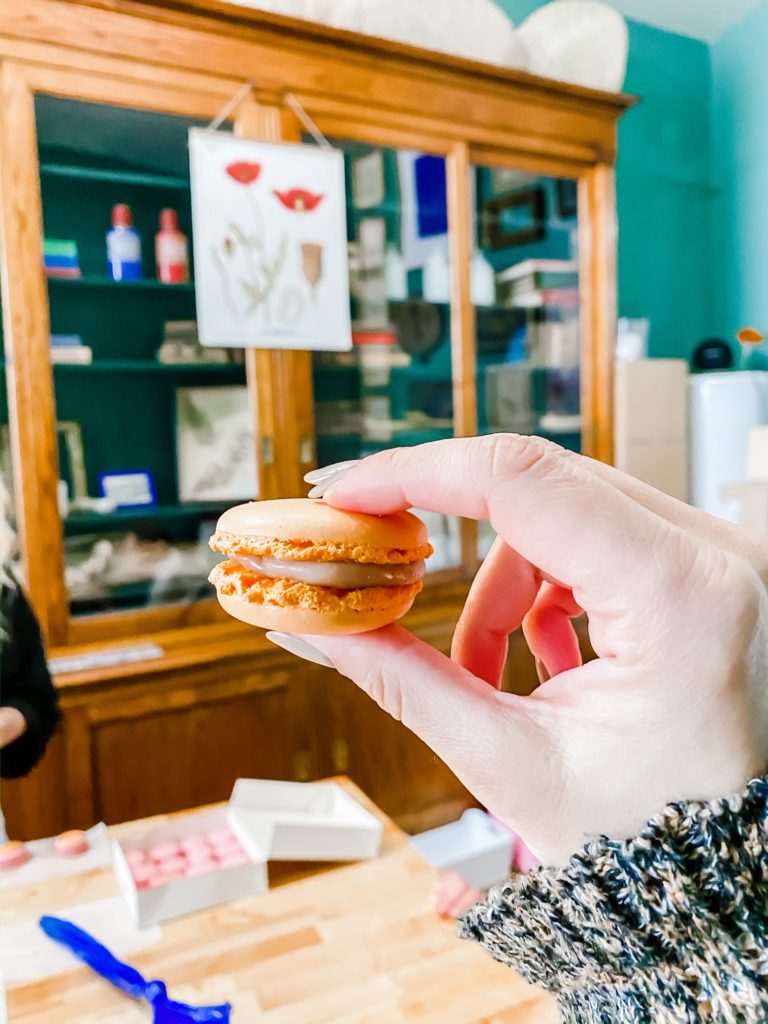
- If you are using jam you can spoon a little onto the center of the cookie, twist to bring the jam to the edges. ENJOY!







This is awesome !! A must try!!!
How much strawberry flavoring did you use?